
A homemade vegetable candle relies on three technical parameters: the melting point of the wax, the wick size, and the fragrance concentration. Mastering these three variables produces a candle that burns cleanly, disperses its scent evenly, and generates neither soot nor excessive smoke. The rest, such as the choice of container, color, and decoration, comes into play only afterward.
Melting temperature and quality of vegetable wax
Soy or rapeseed wax melts at a lower temperature compared to paraffin. This property makes working with a double boiler easier but imposes a constraint that is often overlooked: do not exceed 75 °C during melting. Beyond that, the wax yellows and loses its ability to properly bind aromatic molecules.
In practice, a kitchen thermometer is sufficient. Place the wax in flakes in a heat-resistant container, which is itself placed in a pot of simmering water. Stir gently until you obtain a homogeneous liquid, then remove from heat as soon as the temperature reaches the range recommended by the wax supplier.
To delve deeper into the making of homemade vegetable candles, the choice between pure soy wax and a soy-rapeseed blend mainly depends on the desired finish: soy provides a smooth and opaque appearance, while rapeseed gives a slightly creamy texture and better scent retention according to several candle-making artisans.
Wick sizing: avoiding tunneling and soot
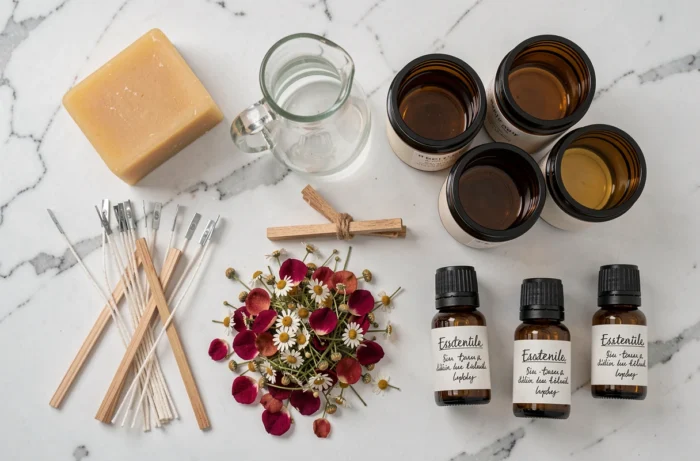
The choice of wick determines the combustion quality much more than the type of wax. A wick that is too thin causes tunneling, which is the central hollow that leaves wax intact on the walls of the container. A wick that is too thick generates a high flame, black smoke, and a combustion that is too fast, reducing the candle’s lifespan.
The only reliable method is to conduct successive tests. Pour three identical candles with three different wick sizes, then observe each complete burn.
- The flame must remain stable, without flickering or producing carbon mushrooms at the top of the wick.
- The pool of liquid wax must reach the edges of the container in less than two hours for a standard diameter.
- No trace of black soot should appear on the glass walls after several hours of burning.
This complete combustion test before use or gifting is the step most often omitted in tutorials. Without it, a seemingly successful candle can turn out to be disappointing or produce undesirable combustion residues in an enclosed space.
Fragrances and oils: incorporation rates and limits in small living spaces
The temptation to overdose on fragrance for a stronger diffusion almost always backfires on the final result. An excess of fragrance prevents the wax from solidifying properly and causes oily seepage on the surface. Each wax has a maximum absorption rate indicated by the manufacturer, usually expressed as a percentage of the total weight.
Add the fragrance when the melted wax has slightly cooled but remains liquid. Mix for at least two minutes to ensure an even dispersion throughout the mass.
Ventilation and safety in a studio or small apartment
In a small living space, the concentration of volatile organic compounds emitted by a scented candle can become significant. Even with vegetable wax and quality fragrance, ventilating the room after each prolonged use is essential.
Some practical precautions reduce risks:
- Do not burn a candle for more than three to four consecutive hours, especially in a room smaller than fifteen square meters.
- Place the candle on a stable and heat-resistant surface, away from any textiles, curtains, or wooden shelves.
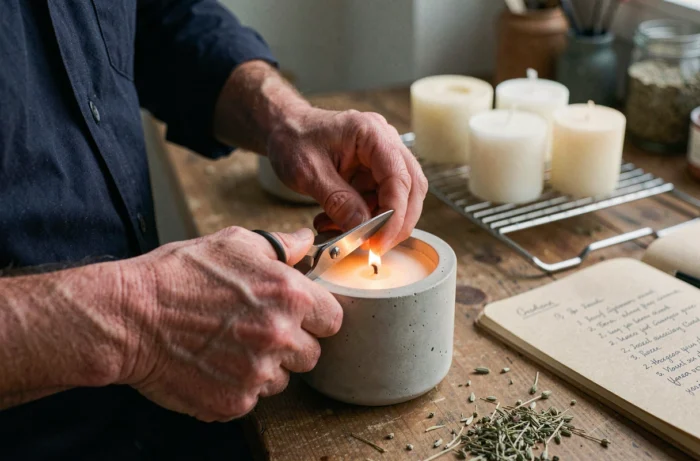
- Trim the wick to a few millimeters before each lighting to limit soot production and stabilize the flame.
Pure essential oils, sometimes preferred over synthetic fragrances, are not necessarily safer. Some (eucalyptus, cinnamon) have a low flash point that can alter the flame’s behavior. Check the technical data sheet of each oil before incorporating it into a wax intended for combustion.
Maturation of the vegetable candle before the first lighting
A candle poured in the morning and lit in the evening will never reach its full olfactory potential. Waiting at least 48 hours, ideally a week for soy or rapeseed waxes, allows the fragrance molecules to bond permanently with the wax matrix. This maturation time, known as “curing” in candle-making jargon, improves both scent throw and combustion consistency.
During this period, store the candle in a dry place at room temperature, with the lid on or covered with plastic wrap for protection. Direct sunlight can alter the color of the wax and degrade certain scent notes.
This waiting period may seem cumbersome when making candles for gifting, but it makes all the difference between a candle that fills a room with fragrance and one whose scent remains barely perceptible. Planning this resting time in the production schedule avoids disappointment at the time of lighting.
The success of a homemade vegetable candle relies less on the materials than on the rigor concerning three points: controlled melting temperature, wick tested by actual combustion, and respected maturation. A well-calibrated candle, burned in a properly ventilated space, remains the simplest way to enjoy a scented ambiance without compromising indoor air quality.